Installing the Unity SDK
This article will walk you through installing the Skillz SDK in your Unity project.
1. Download Skillz SDK
The latest version of the Skillz SDK for Unity can be found in the Downloads section of the Skillz Developer Console, or can be downloaded when creating a new game in the Skillz Developer Console.
Decompress the file after it has finished downloading. Everything will be decompressed into a folder named sdk_unity_<SDK_VERSION>. Relative to that folder will be /unity/skillz_unity-<SDK_VERSION>.unitypackage where SDK_VERSION is the version of the Skillz SDK that was downloaded.
2. Import Unity Package
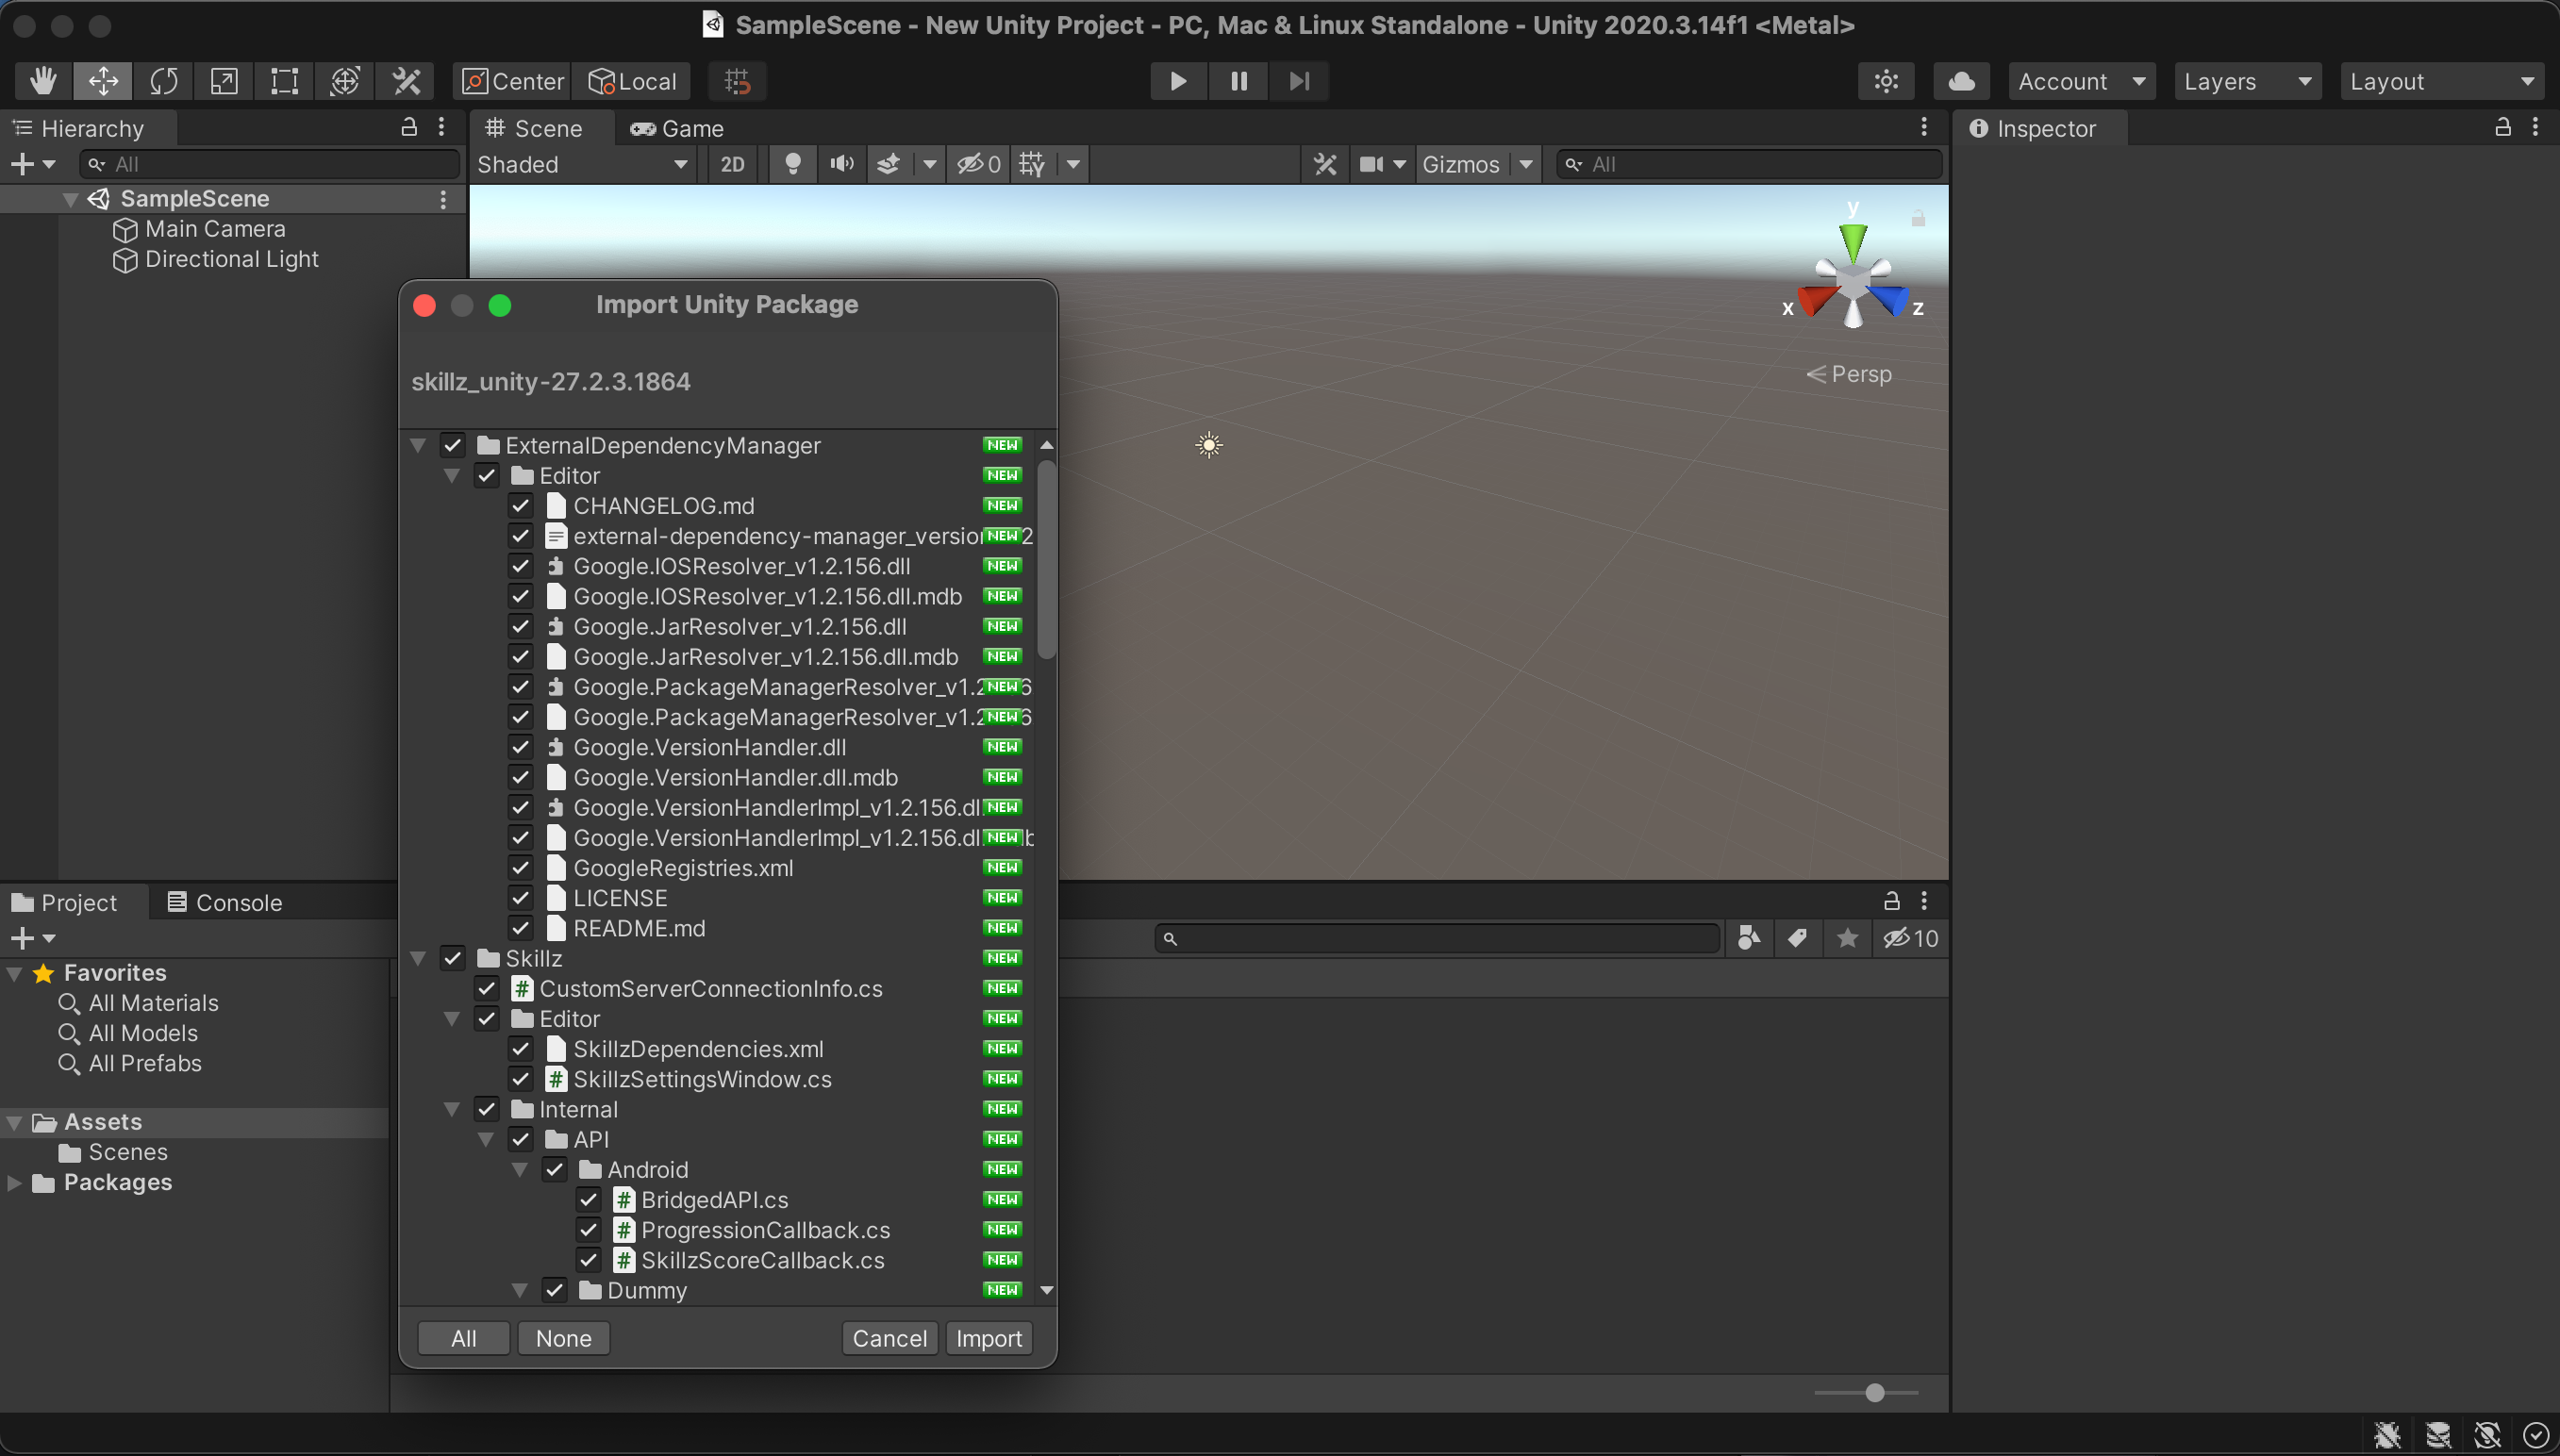
With your project open in Unity, click the Assets > Import Package > Custom Package... menu item. Select the skillz_unity-<SDK_VERSION>.unitypackage file from the previous step.
A dialog will pop up where you can choose the assets from the package to import. Click the All button to select all. Next, click the Import button.
Overwrite Android Build Files
A dialog will pop up asking permission to overwrite Android build files. Select Yes.

Enable Android Auto-Resolution
A dialog may pop up asking to enable Android Auto-Resolution. If prompted, click Enable. Enabling this feature is also done in a later step, so it is not critical at this point.

Disable Registry Addition
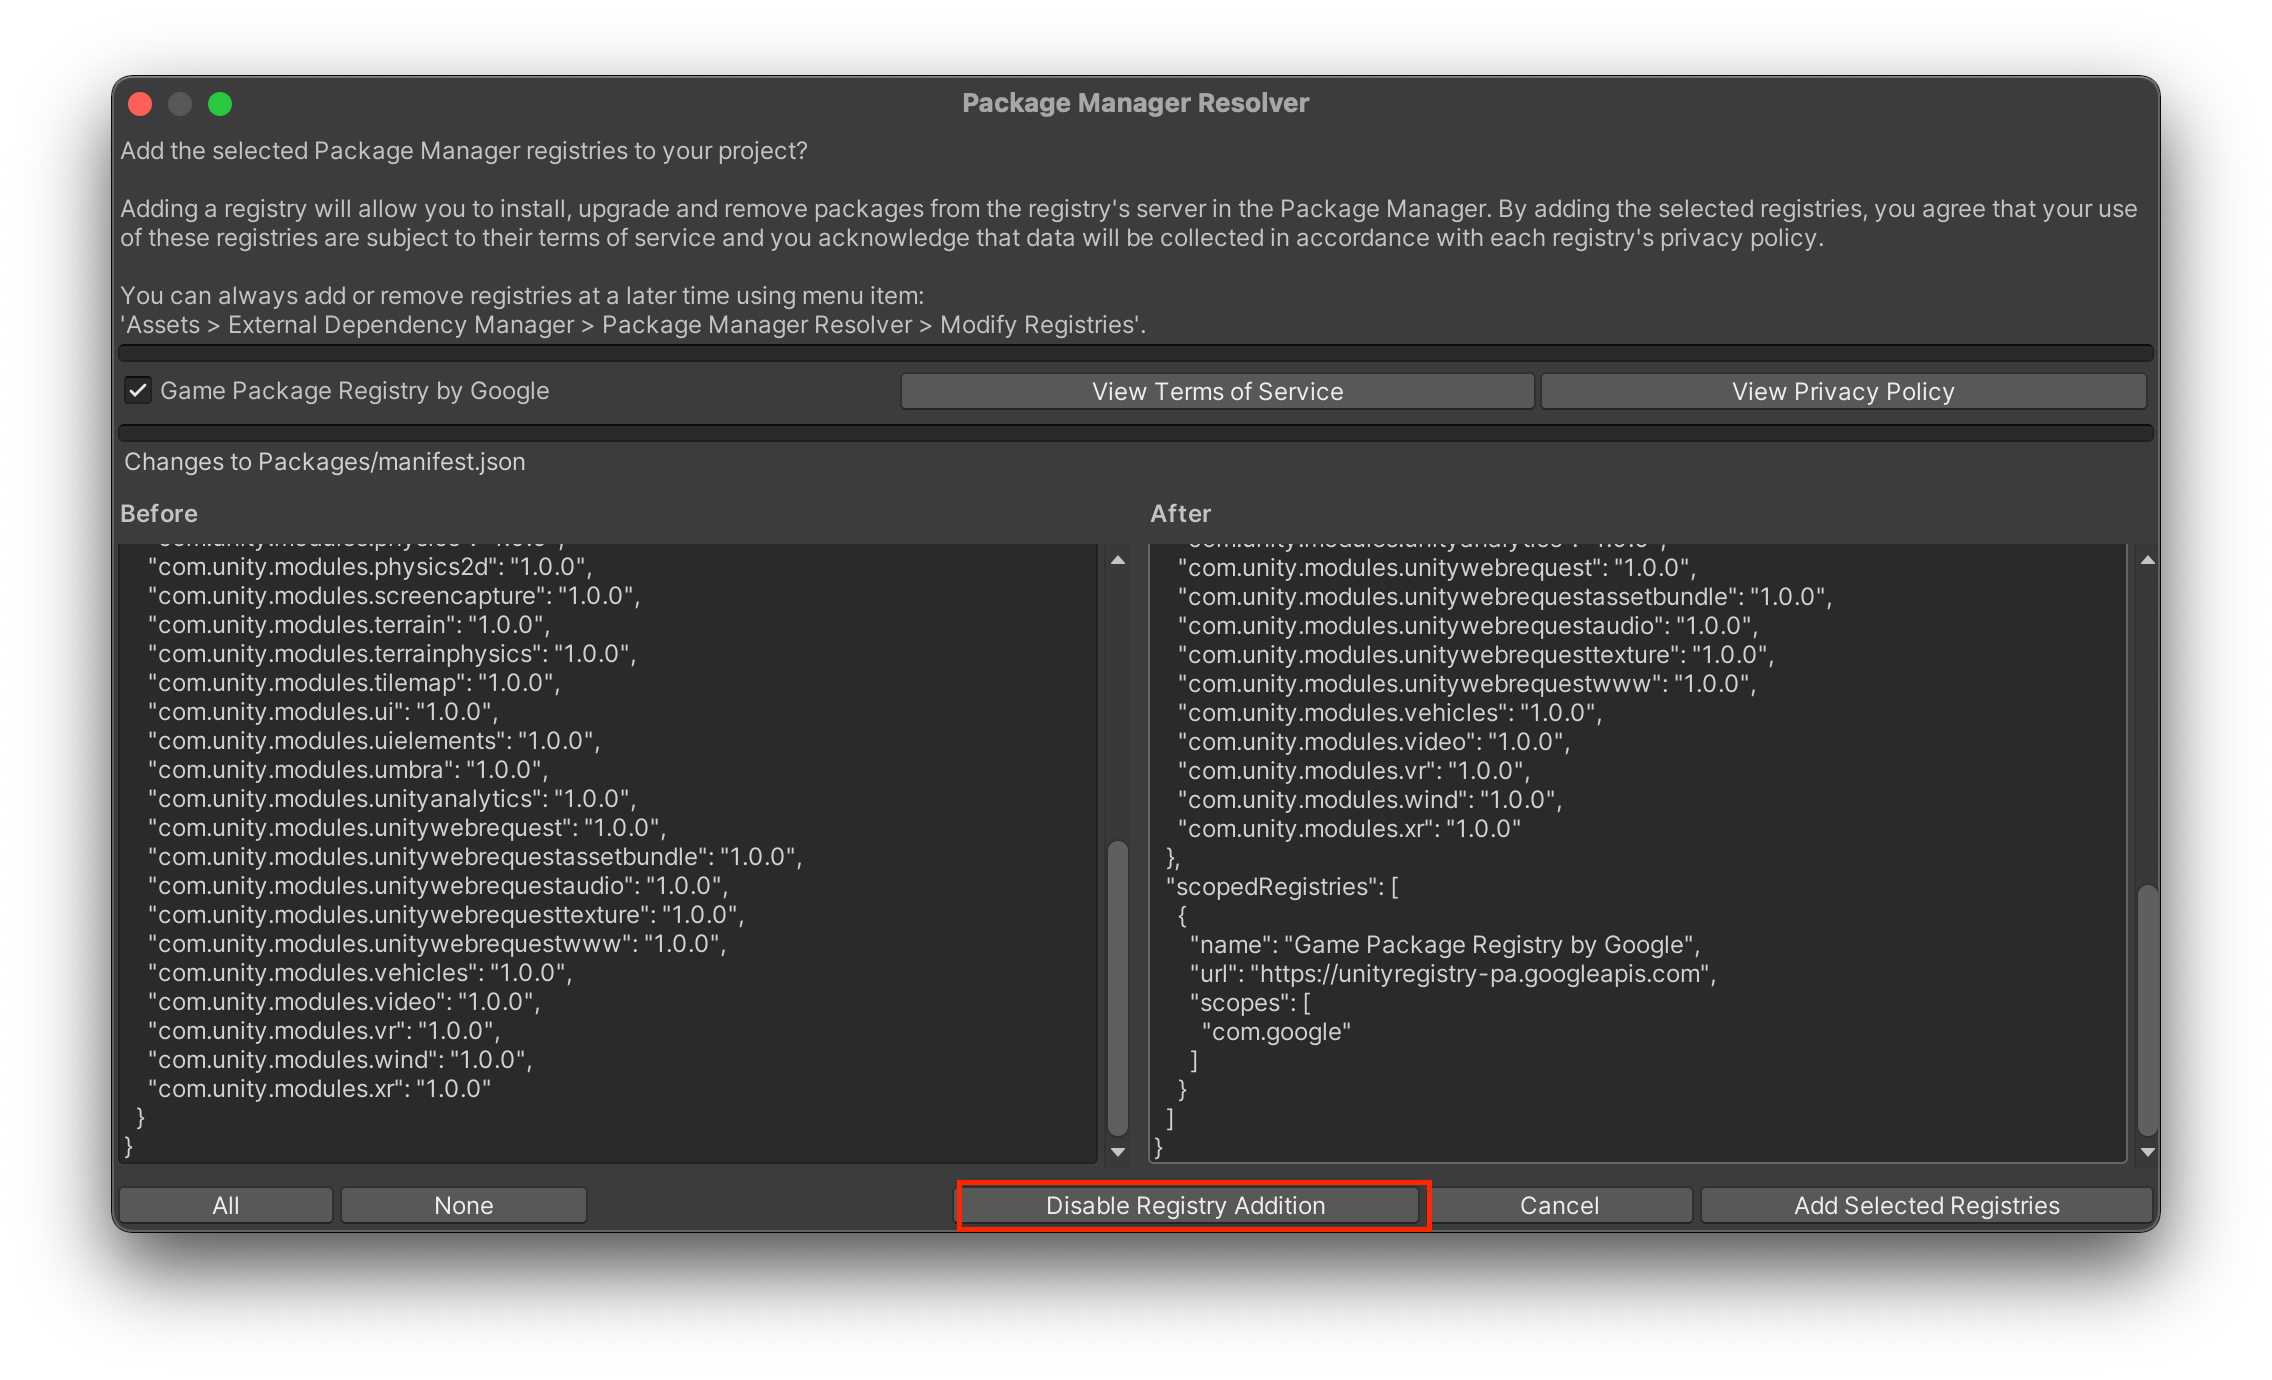
Skillz bundles a plugin by Google called the External Dependency Manager (EDM), which is used to resolve Android dependencies. On import of the Skillz SDK, EDM may display a dialog, similar to the screenshot below, to ask if you would like to add additional Unity Package Manager registries. If this dialog appears, click the Disable Registry Addition button to dismiss the dialog.
The Skillz SDK is now installed in your Unity project. You should see an Assets/Skillz/ folder in your project tab.